
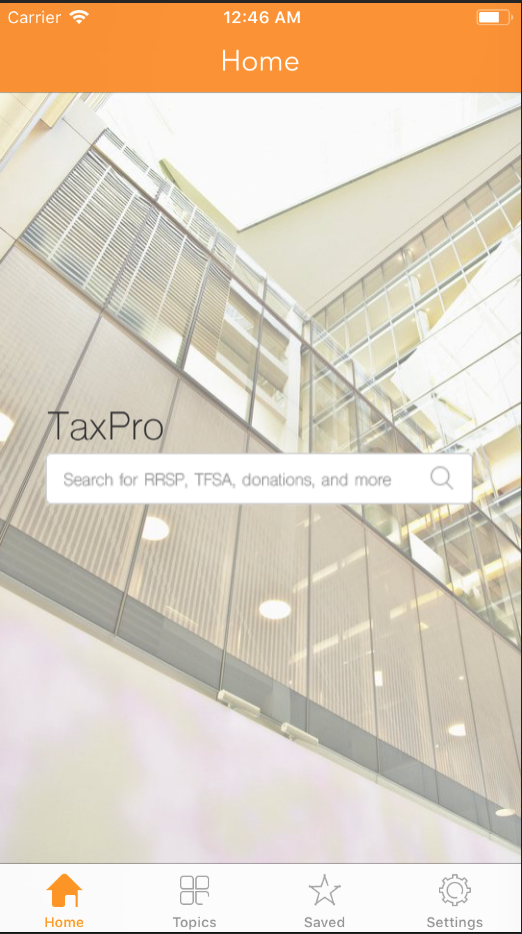
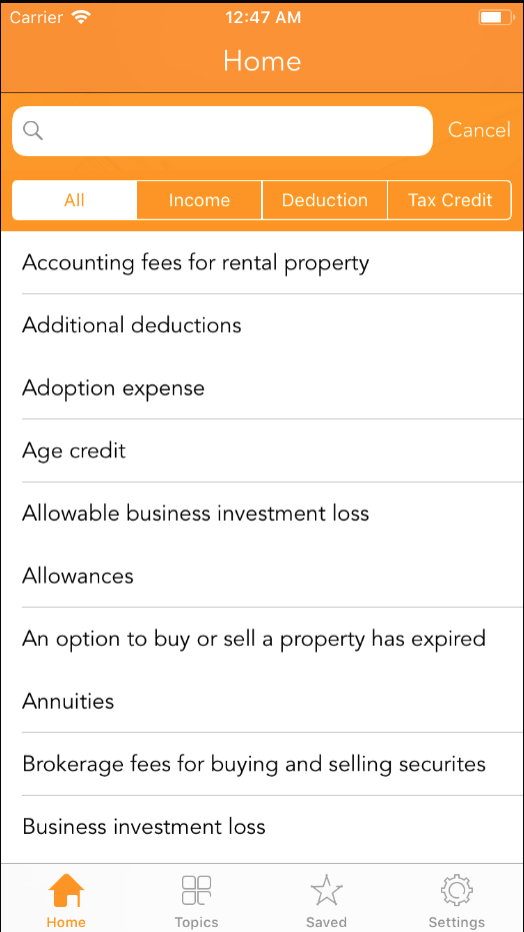
TaxPro is an iOS mobile app that helps people to estimate their tax return based on user’s total income and location. There are a lot of topics leading to different formulas. User can either type the formula they are looking for or look at a group of formulas.
- iOS 9.2, worked with Xcode 7.2 in swift 4
- Design Patterns: Strategy,
Factory Method, Bridge, Singleton - Core Data: saving and reloading a calculation record and user’s basic information.
- Storyboard + Autolayout + Code: to let the app fits in all size of screen.
- Charts: a third party API to draw a pie chart on output page
- PureLayout: a third party API to programmingticaly add autolayout constraint
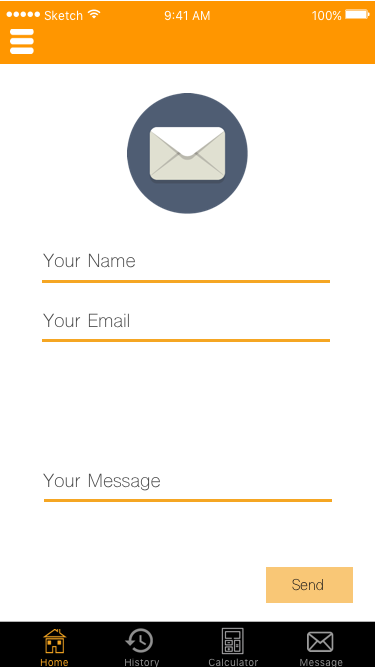
- Social + MessageUI : created sharing functionality and sending email on user’s setting page.
- Expandable TableView: for user to pick the sub menu topics. it’s changeing the topic layout dynamically
- Ordered Dictionary + HashSet : to set up a priority for the range of income in each topic
- Experienced with Sketch to design User Interface.
UX
How to communicate with a Client for UI/UX?
I designed UX for this project in Sketch (as I am the only designer and developer in our team - while the other guy only provided me all the tax fomulars). From my experience, UX is really important for non-tech clients. Because they believe that no matter what magic you would do under the hook, your code would be as the same cool as the UI shows. As long as you present them a series of outstanding UX, they believe that you would be a professional guy (team) for their project. By the way, I did have an experience that a client didn’t want to continue with my team due to a developer-language-spoken UX design.
What should you determine first?
if a client comes from a company, you should determine the theme colours with him. Then you can continue. Why? because a theme color would present its company and it can also drive you a general idea how your UI would looks like.
I started with Green theme, background color you can go with black or white. But I chose black, to make numbers outstanding and gives a hyber style with scrolling animation.
| First Version | ||||||
|---|---|---|---|---|---|---|
 |
 |
 |
 |
 |
 |
 |
And different theme colours?
Then client says the company’s theme is orange, and a searching feature, could you make a change?
-“You mean this?”
| V2 | |
|---|---|
 |
 |
-“Could you make it cheerful? Might be change the black to white? And how about adding a page for the user management?”
-“Sure!”
-“Or may be we can try a set of simplier inputs!”
| V3 | ||||||
|---|---|---|---|---|---|---|
 |
 |
 |
 |
 |
 |
 |
After several meetings, we finally determined that we are going to use this kinda set.
And here is what we have for this app after implemented.
| Finailized | 1 | ||||
|---|---|---|---|---|---|
 |
 |
 |
 |
 |
 |
 |
 |
 |
 |
 |
 |
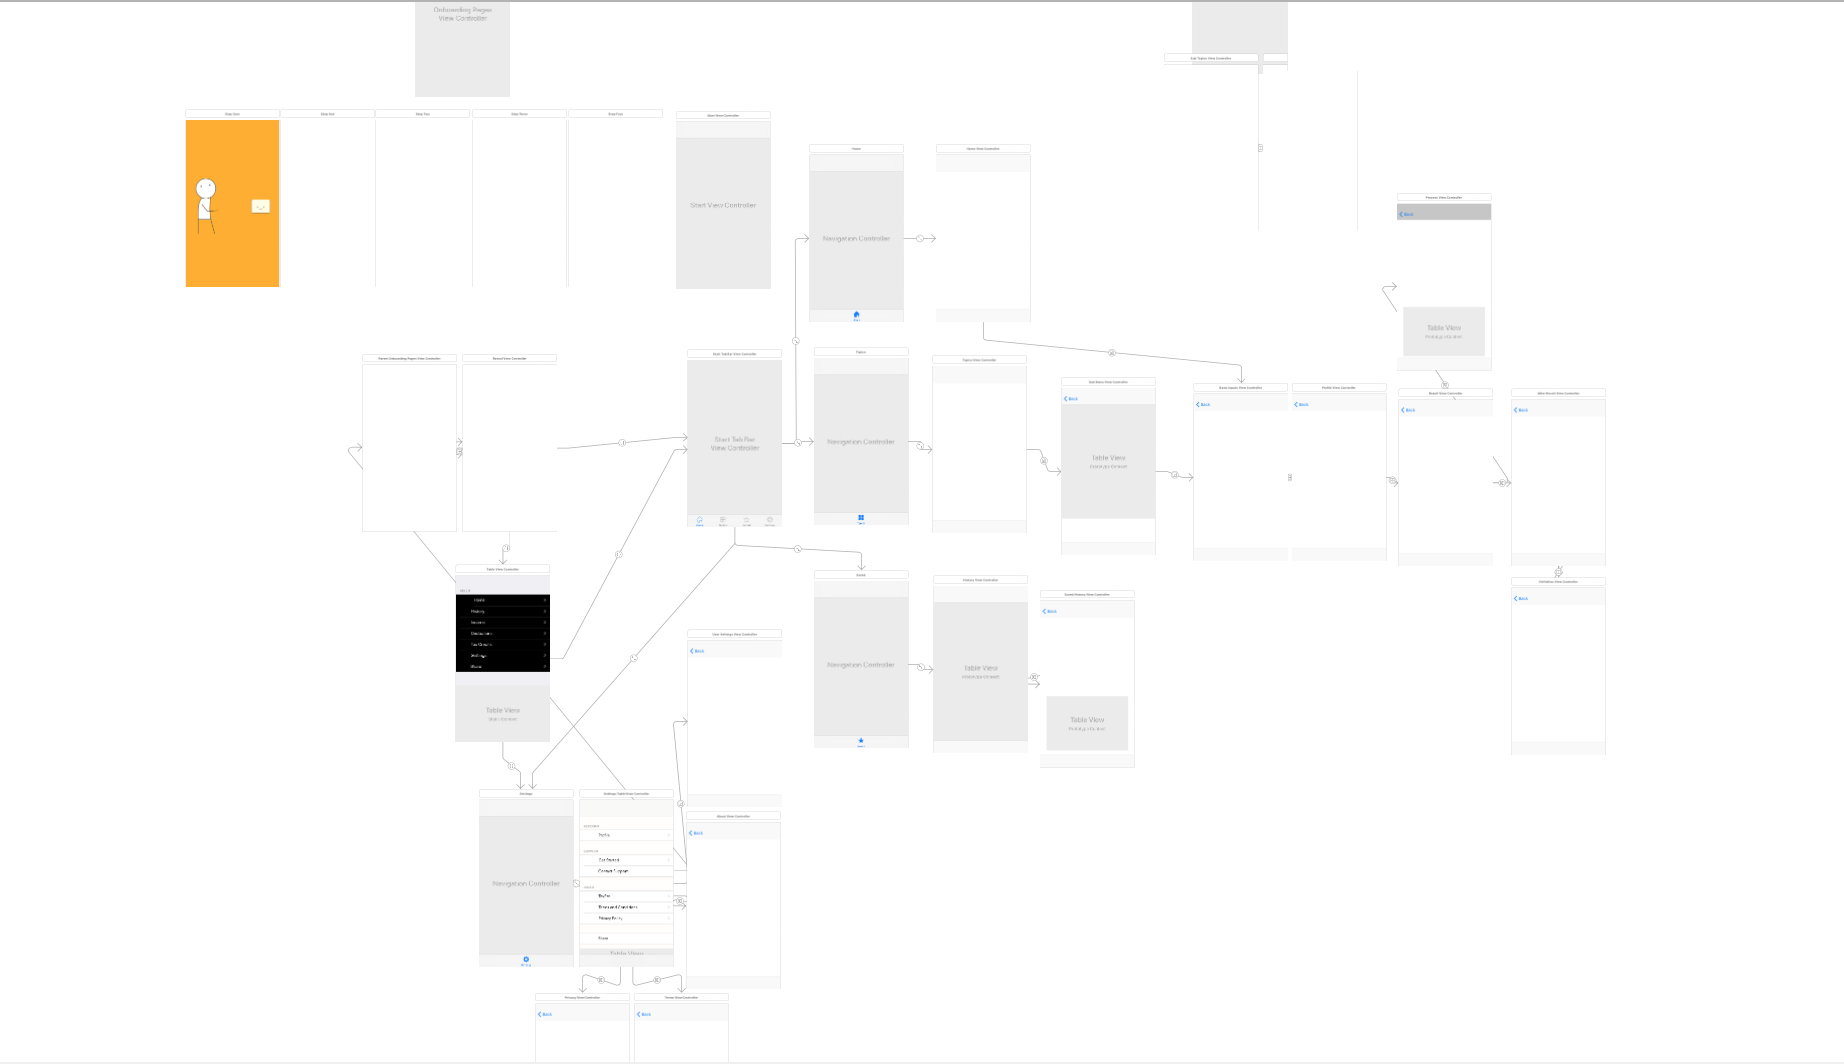
In dev process, I do recommend that you create your ui through code. Because git (version control) doesn’t allow you to change the Storyboard at the same time. It will break it! So the less touch of storyboard, the safer for your project. I was in the middle of it. Half Storyboard, haf code.
Design Pattern
Strategy
Formula
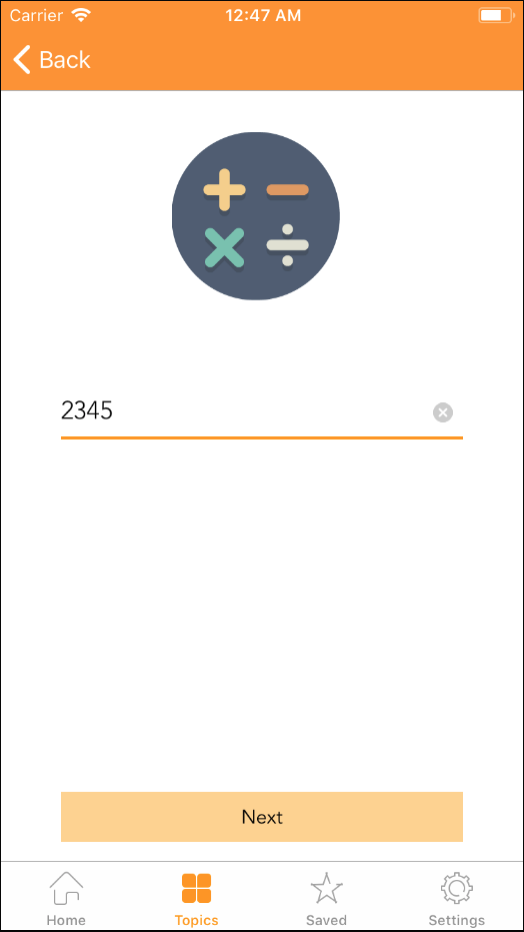
Formula description the whole procedure from collecting datas from user’s profile (total income, province etc.) to present the tax result based on tax topics. The whold precedure includes:
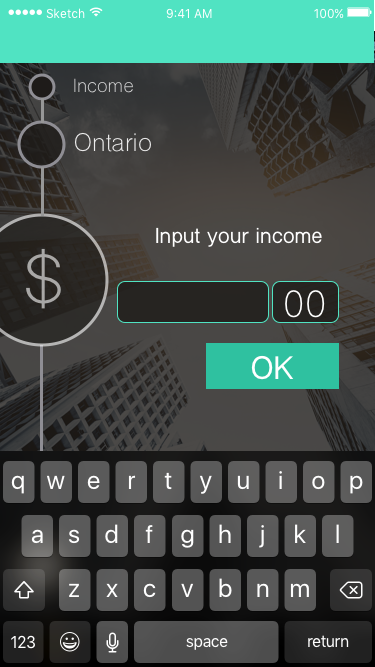
BasicInputsViewController
- initUI(UIViewController)->UIView : based on the topic, present the topic title and collect data
- *”Interest Income”* form InterestIncome;
- *”Contribution”* for RRSP.
- checkBasicInput(): make sure user’s inputs are valid for above UI
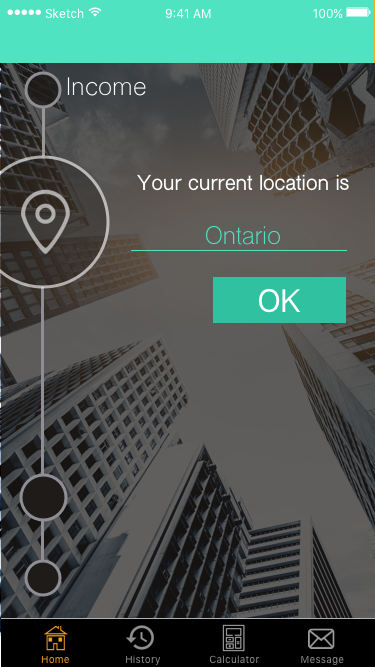
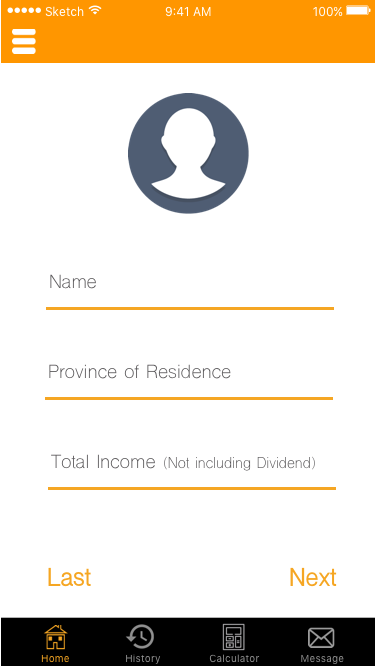
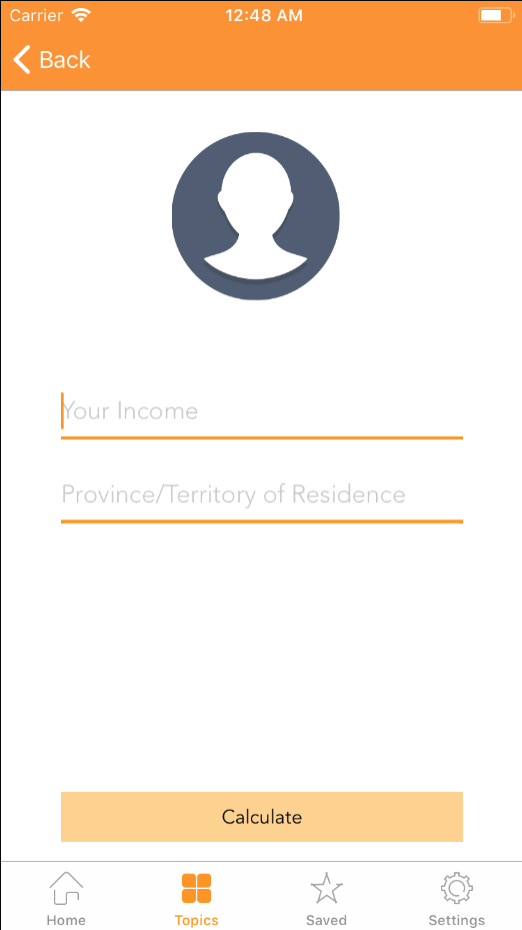
ProfileViewController
- setProfile(income, province): user’s input form for total income and location province
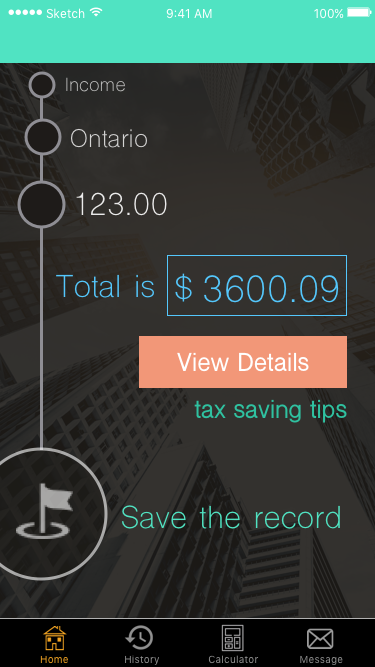
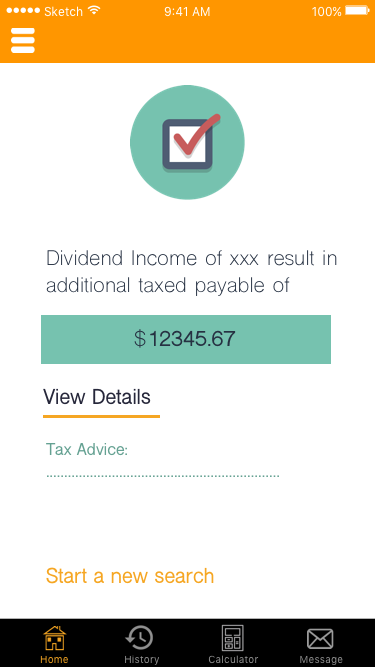
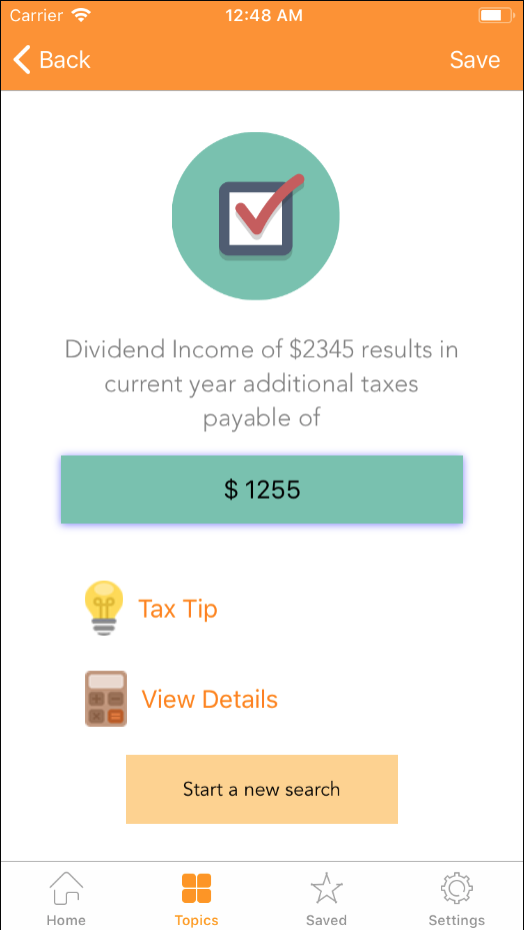
ResultViewController
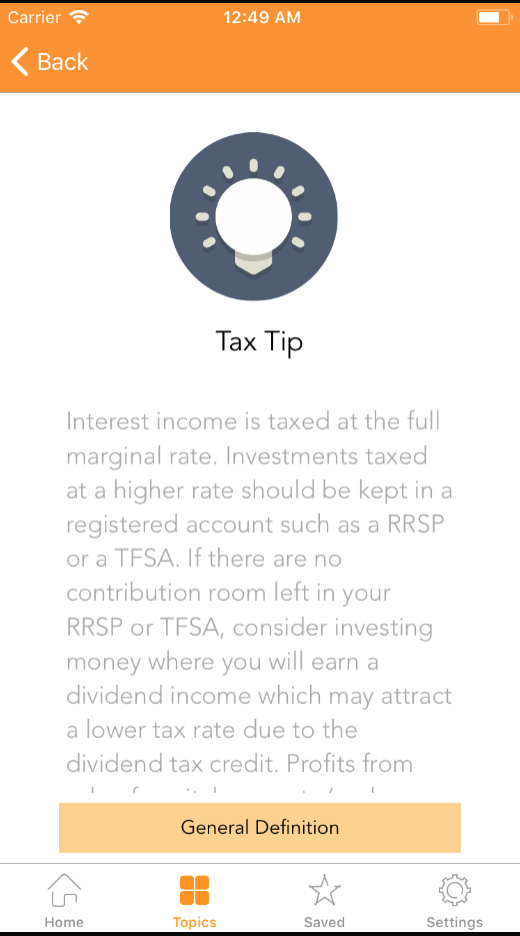
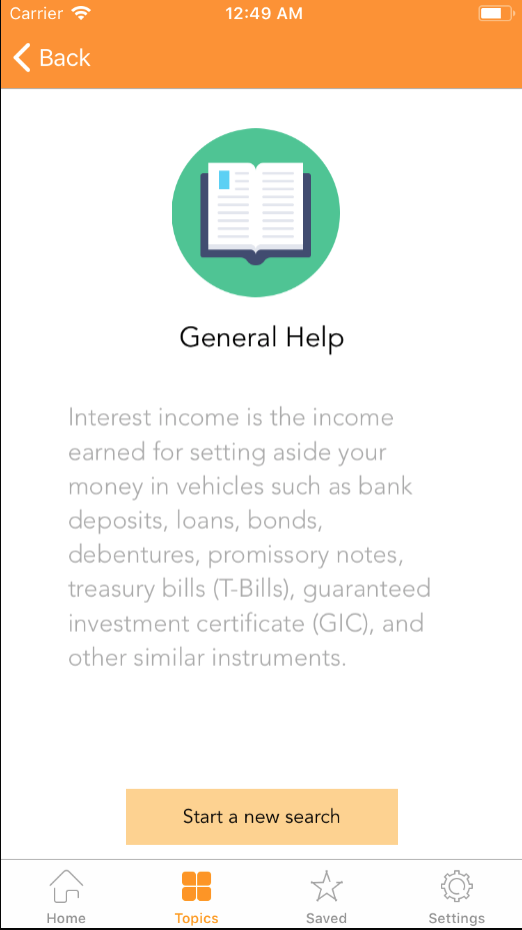
- getInstruction(): give an intruction for this topic
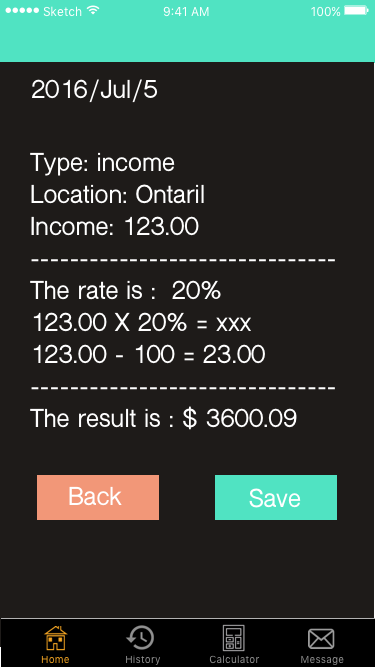
- getResult(): give actual digit in “$xx.xx” format
- retrieveData() : for saving a record, to retrieve all data in a key-value form
- getDefinition() : explain the topic.
- getTip(): give a tip on how to save more money
Formula includes
- Tax Credit
- Deduction
- RRSP
- Income
- Employment
- OldAgeSecurityPension
- ForeignInvestmentIncome
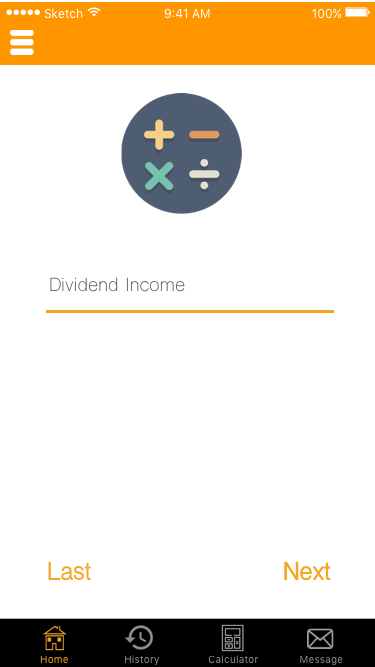
- DividendIncome
- InterestIncome
1 | class Calculator{ |
in BasicInputsViewController or ProfileViewController
1 | var formula = Calculator(algorithm: RRSP.sharedInstance) |
Bridge
It’s similar to Strategy(dynamically, changed in run-time based on client’s behaviour), but there is difference. Bridge is a concrete implementation and static. 是两个类子对象之间互相拆分和互相重组。“桥接模式可替换抽象部分中的实现对象, 具体操作就和给成员变量赋新值一样简单。”
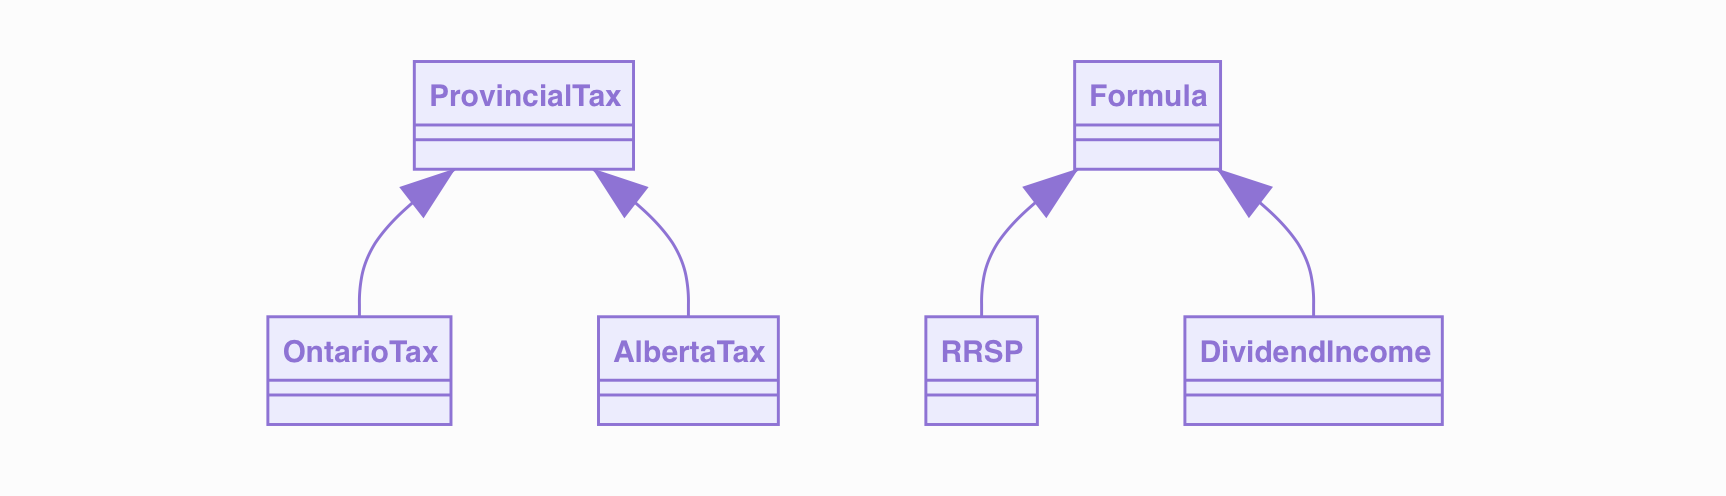
When we calculate a result of a topic (RRSP), we actually find an implementation based on it’s province (a subclass of ProvincialTax) and we let all the logic written in the subclass of ProvincialTax. It’s the communication between those subclasses.
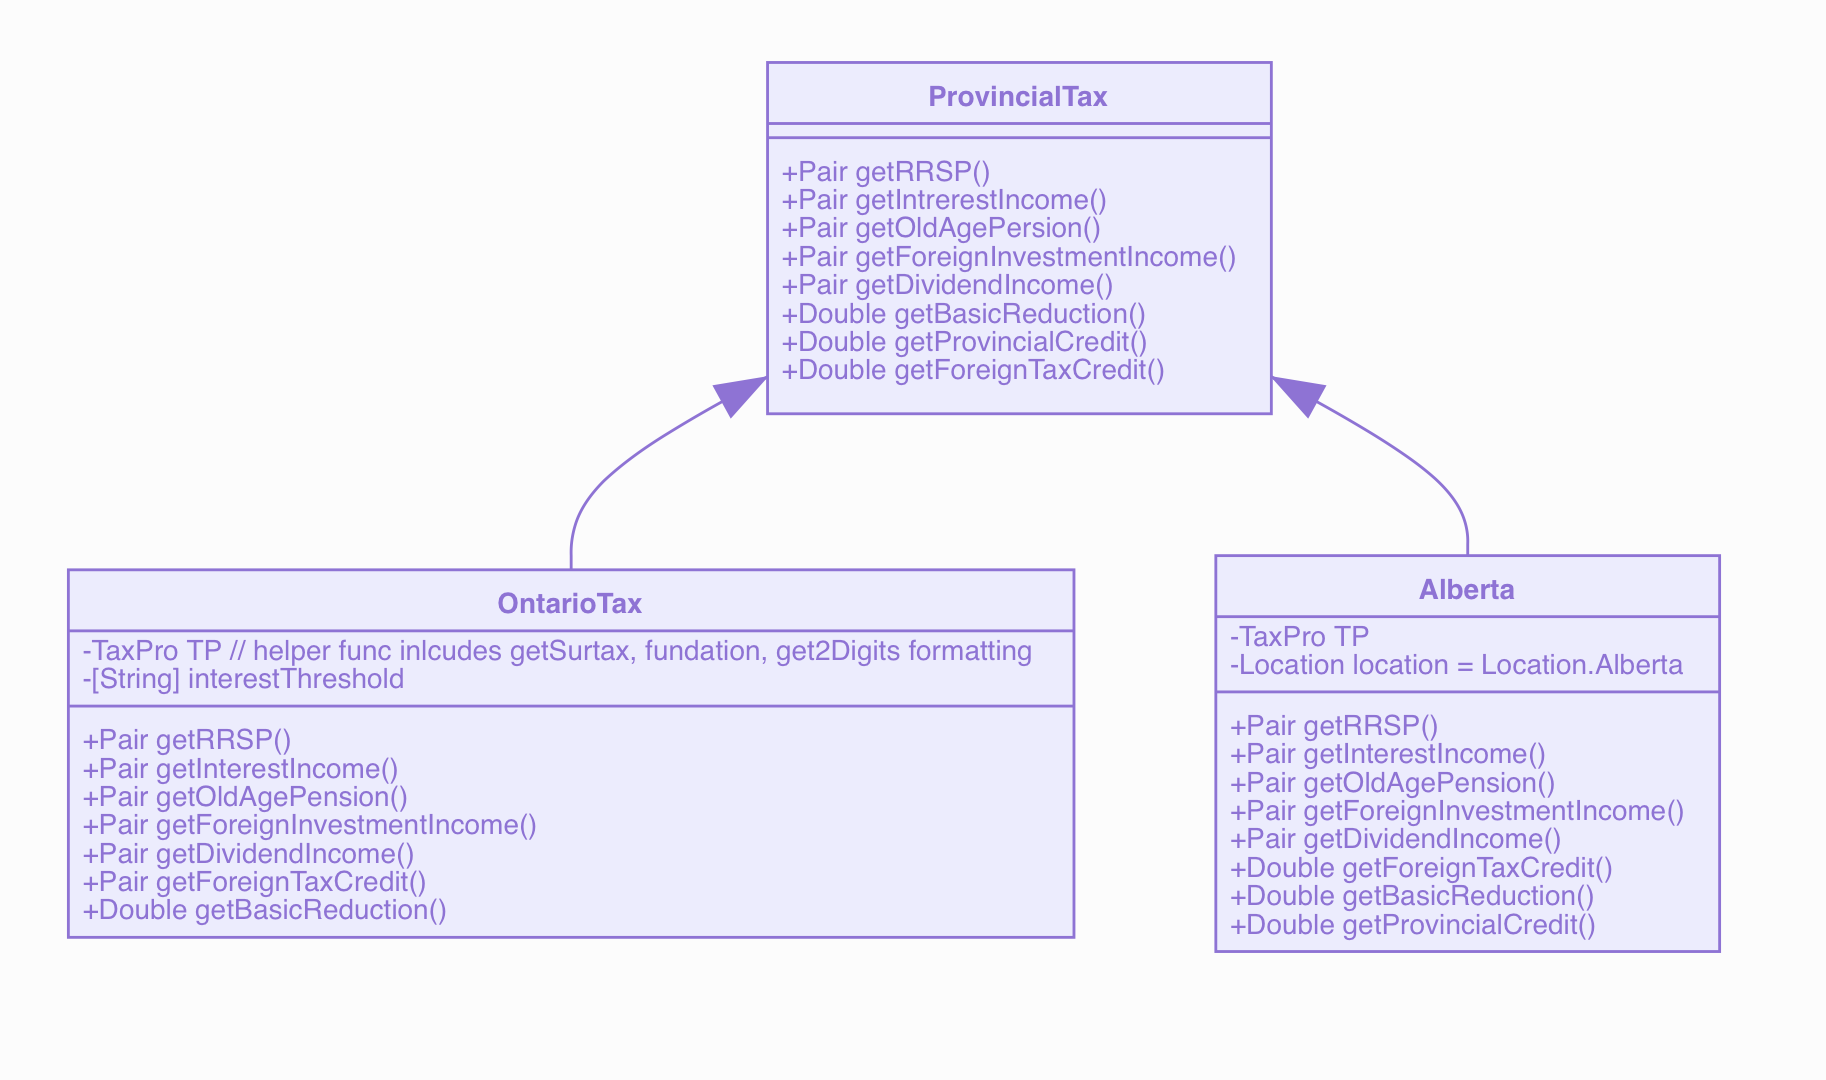
ProvincialTax: is an interface of all basic steps for each province to calculate all formulas. For example, the object of ProvincialTax includes implementation of A,B,C. RRSP use A+B, and dividend income use B+C and so on. Each province has different parameters and procedures to implement A, B or C, so it’s better to create subclass for each province individually. And when meet a particular Formula, just use the instance of ProvincialTax to do the actual behaviour of calculation.
1 | func getResult() -> Double { |
Each func in ProvincialTax will take netIncome or other factor as inputs
return: final result and it’s process in Pair [“text for description:”, “$xx.xx”] format
The province includes
- Ontario
- Alberta
- British_Columbia
- Manitoba
- Saskatchewan
- Yukon
- New_Brunswick
- Nova_Scotia
- Northwest_Territories
1 | protocol ProvincialTax { //in ProvincialTaxPro |
Singleton
Each formular is a singleton.
in Tax Credit.swift
1 | //Adoption_Tax_Credit |
Core Data
Before all interactions
1 | import CoreData |
Create an entity and new User record
1 | let entity = NSEntityDescription.entity(forEntityName: "Users", in: context) |
Save properties
1 | newUser.setValue("Shashikant", forKey: "username") |
Obtain the entity to insert a new record - Used in CoreDataSaver
1 | var newObject = NSEntityDescription.insertNewObjectForEntityForName("entityName", inManagedObjectContext: context) |
To add data to new object
1 | newObject.setValue(value, forKey: "attributeName") |
To save the context
1 | do{ |
Fetch request
1 | let request = NSFetchRequest(entityName: "entityName") |
Operations On Result
DELETE : context.deleteObject(result)
GET VALUE : result.valueForKey(“attributeName”)
SET VALUE : result.setValue(value, forKey: “attributeName”)
CAST VALUE TO KNOWN DATATYPE :
if let value = result.valueForKey(“attributeName”) as? Datatype {
code
}
Predicate String
1 | let request = NSFetchRequest(entityName: "Users") |
Relationship
Suppose : many to many relationship with person entity and address entity
Create a relationship:
create the set
1
newPerson.setValue(NSSet(obejct: newAddress), forKey: "addresses")
save the newPerson context
1
2
3
4
5do {
try newPerson.managedObjectContext?.save()
} catch {
errorHandling
}
NOTE: the Core Data creates the inverse relationship for us
NOTE: the above save newPerson, newAddress and the relationship
Update a relationship:
- create an address as above
- set the value of the new address as above
- add to the relationship
let addresses = newPerson.mutableSetValueForKey(“addresses”)
addresses.addObject(otherAddress)
Delete a relationship:
newPerson.setValue(nil, forKey: “addresses”)
NOTE: for one to one, you can simply do newPerson.setValue(item, forKey: “oneToOneRelationship”)
reference: https://medium.com/xcblog/core-data-with-swift-4-for-beginners-1fc067cca707
In App
Find all relationship in TaxCalculator.xcdatamodeld
User
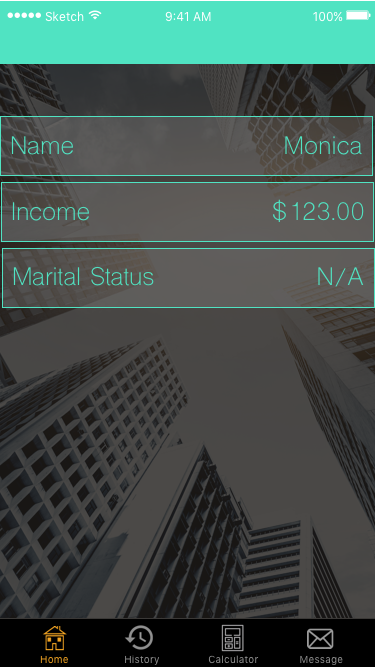
User is an entity, a type of NSManagedObject.
it’s core data properties
1 | import Foundation |
it has a default constructor
1 | override init(entity: NSEntityDescription, insertInto context: NSManagedObjectContext?) { |
it also has a self defined constructor
1 | init?(firstname: String, lastname: String, province: String, income: Double, marital: String){ |
The setter is for it’s file properties
1 | fileprivate func setProvince(_ province: String){ |
There is also a list of getter
1 | func getIncome() -> Double { |
Save and delete
1 | func save(){ |
CoreDataSaver - Save a user
1 | static func save_a_user_withUser(_ user: User){ |
CoreDataFetcher - Fetch a user
1 | static func fetch_a_user() -> [User]{ |
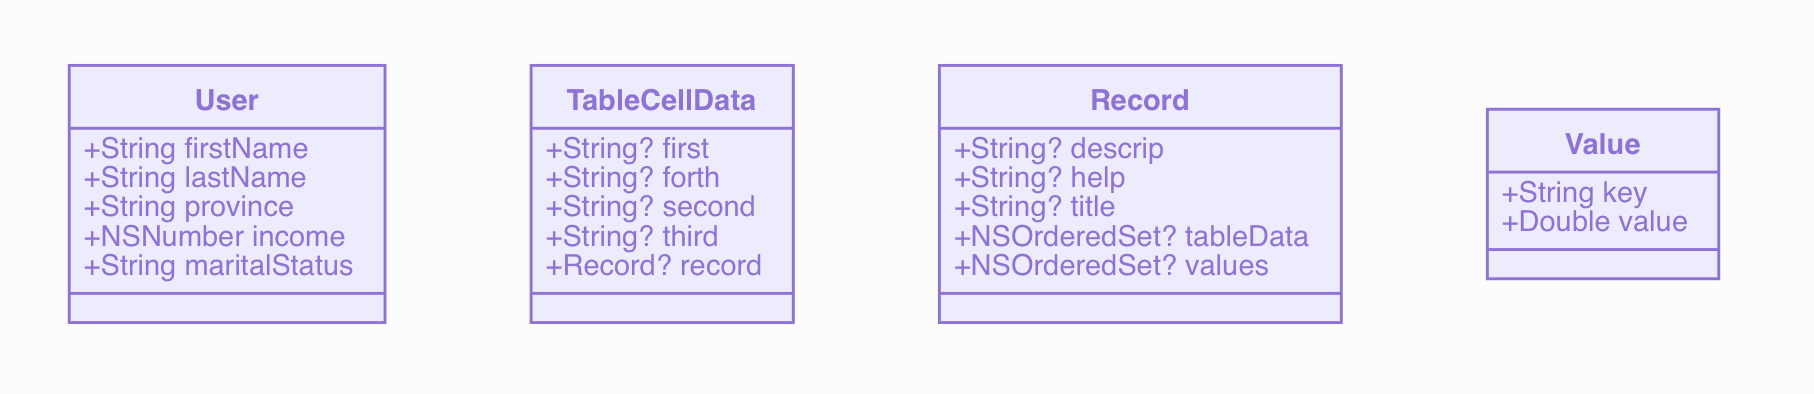
Record
1 | classDiagram |
- title: the name of the formula topic
- descrip : the instruction of the topic
- help : it is the tip from the formula.
- tableData: it’s a table view inside the record page - this refers another entity
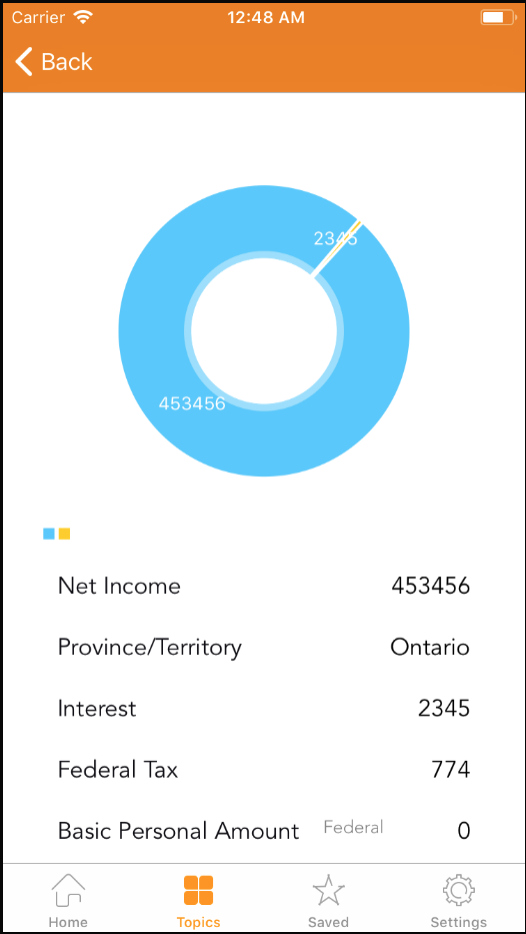
- values: the two basic factors for the
pie chart. (Your input vs your output)
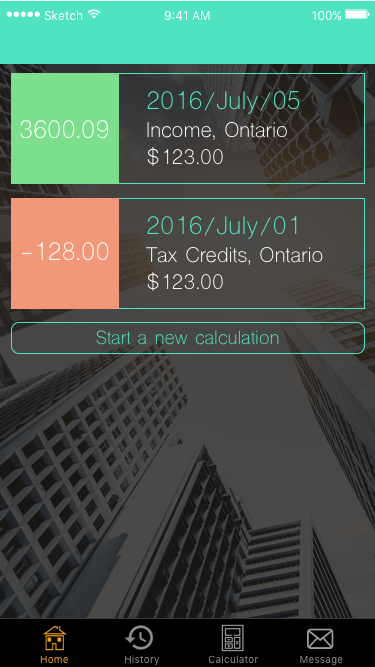
When save a record, we create tableCellData and Values pair to save it together with Record.
1 | //ResultViewController.swift |
TableCellData
1 | [["Net Income", "", "", "1234"], |
Charts
Charts
github link: link
This is the pie chart that I used for ProcessViewController
PieChartView
1 | let pieChartDataSet = PieChartDataSet(values: dataEntries, label: "") |
PureLayout
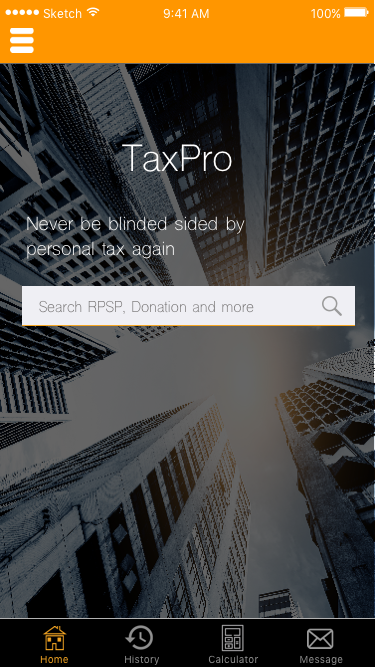
Was used for the animated search bar on HomeViewController - (installed with Cocoapods) to create auto layout constraints. PureLayout supports all Auto Layout features including inequalities, priorities, layout margins, identifiers, and much more. It’s a comprehensive, developer-friendly way to use Auto Layout.
First set up searchBar: UISearchBar, searchButton: UIButton, resultTable:UITableview on MainView, give autolayout constraint for their correct position
1 | override func updateConstraints() { |
Attach MainView to the ViewController, right now there is only searchButton
1 | override func updateViewConstraints() { |
Added searchClick to the searchButton to show the rest content.
(please see the reference link for the rest :))
The other use of PureLayout was on EmptyBackgroundView. which was set up as background view such that if there is no result showing on search bar, we then present this view.
Social + MessageUI
Social is for share info on your Facebook, Twitter or in-message
Here is a code from SettingsTableViewController
1 | //Reference: sharing....... |
MessageUI : is for sending message via mail service on the phone.
Should attach MFMailComposeViewControllerDelegate on the view Controller
1 | //=======================Sending Message============================= |
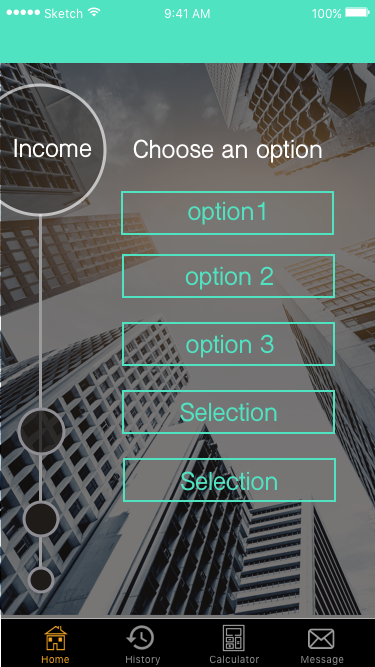
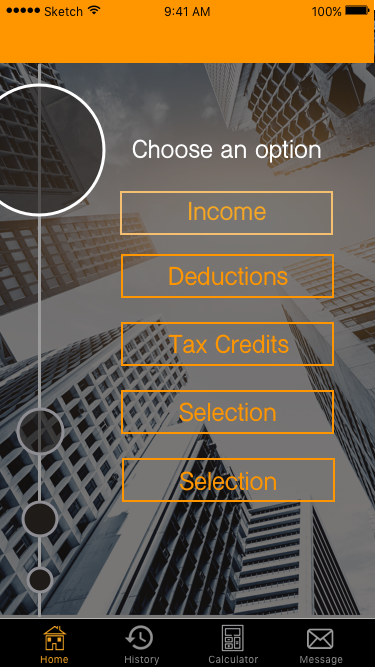
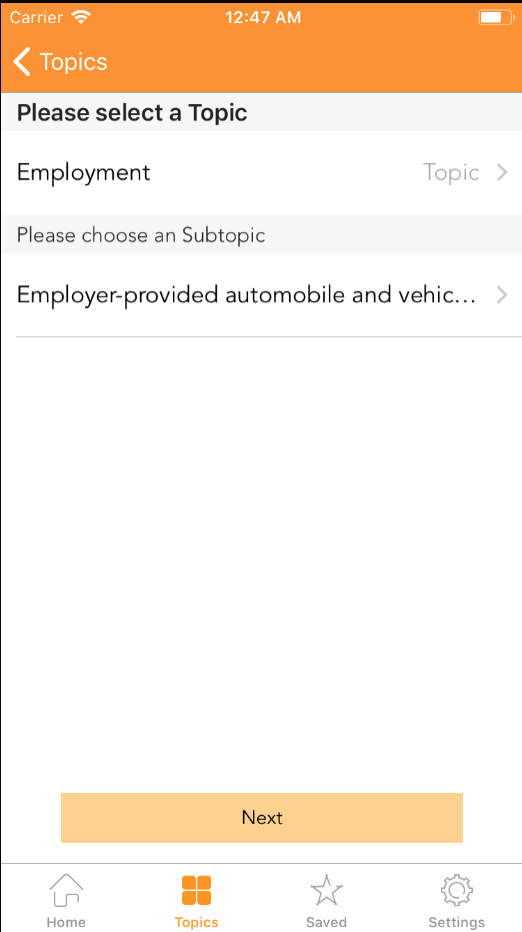
Expandable TableView
It’s the tableview to allow cell expands and collapse - showing or hiding the information - to display on-demand informations to users.
*”With them, ==it’s not necessary to create new view controllers== just to ask users for data that in any case should exist in one, default view controller. For example, with expandable cells you can show and hide options of a form that collects data without having to leave that view controller at all.”*
I used the expandable tableview to present a relationship of topics in SubMenuViewController.swift
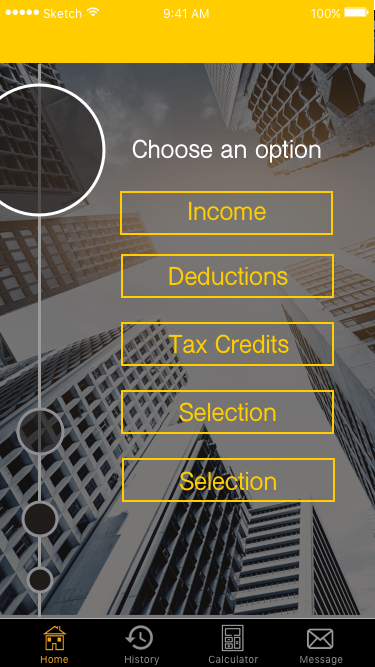
- Income - [Topic]
- Investment Income - [Subtopic]
- Sale of Publicly traded shares - [items]
- Sale of Mutual fund units
- Sale of bounds
- …
- Employment
- Employment Income
- Allowances
- Expense reimbursement
- Stock option
- …
- Interest Income
- Interest income from bank deposits
- Interest income from money loaned
- Interest income from bonds
- …
- Divided Income
- Dividend income from securities
- Dividend income business
- Dividend income (non-eligible only)
- …
- Deduction
- …
- TaxCredit
- …
Procedure:
- Prepare a set of customized cell - NormalCell.xib, TextfieldCell.xib, DatePickerCell.xib. In our case we only use NormalCell.xib, and make sure my table view recognize those tablecells and be able to reuse them
1 | tblExpandable.register(UINib(nibName: "NormalCell", bundle: nil), forCellReuseIdentifier: "idCellNormal") |
Wrote other tableview delegates
Get the CellDescriptor done prepared. it’s dynamically changed in our case. It will reload a new list as long as user switch to a new topic.
The format of the cellDescriptor should be like this
Root
-Item 0 //For section 1
-Item 0 //for the actual cell
-isExpandable: Boolean to descript if this cell is expandable
-isExpanded: Boolean : is this cell has been expanded
-isVisible: Boolean when it’s parent is an expandable cell and expanded, turn on the visibility as a child
-value: String
-primaryTitle: String
-secondaryTitle: String
-cellIdentifier: String to let the tableviewcell know which xib you are using
-additionalRows: Number : if youare an expandable cell, you will have a value of greater than 0. Otherwise, 0 means you are the lowest child.
1
2
3
4
5
6
7
8
9
10
11
12
13
14
15
16
17
18
19//This is the helper funcs that I used to insert table view cell's info.
func addNormalCell(_ Title: String, _ child: Int, _ guy: NSMutableArray){
guy.add(["additionalRows":child, "cellIdentifier":"idCellNormal", "isExpandable": true, "isExpanded": false, "isVisible": true, "secondaryTitle":Title, "primaryTitle":"", "value":""])
}
func addValueCell(_ Title: String, _ guy: NSMutableArray){
guy.add(["additionalRows":0, "cellIdentifier":"idCellValuePicker", "isExpandable": false, "isExpanded": false, "isVisible": false, "secondaryTitle":"", "primaryTitle":Title, "value":""])
}
func addTopicGroupCell(_ what: [String]) -> NSMutableArray{
let guy = NSMutableArray()
addNormalCell("Topic", what.count, guy)
for i in what{
addValueCell(i, guy)
}
return guy
}Set up logic for cell item clicked
If the expandable Item cell was clicked for expanded the new items,
- inserts those items
- make sure to reset the expanded to be true in cellDescriptors
- call tableView.reloadData();
if the item cell clicked was not for expanded, it means it needs to pick a value:
- retrieve the text value on the UILabel
- Reset it to it’s parent’s primary value
- let the current cell(with it sibling) to be invisible
- And make sure let its parent not to be expanded anymore (since a value is picked already)
- tableView.reloadData();
For more info about how to dynamically load cell items info, please go check tableView(didSelectRowAt) in SubMenuViewController.swift
Bug Report
Had error for dynamically inserting a new row into the CellDescript.plist
I’m trying to add programmatically section and rows to the project. So what I do is to create another NSMutableArray and add this array to the cellDescriptors. Basically what I do for that;
var myNewNSMutableArray = NSMutableArray() //create empty array
//adding dictionaries to the NSMutableArray
myNewNSMutableArray.addObject([“additionalRows”: 2, “cellIdentifier”: “idCellNormal”, “isExpandable”: true , “isExpanded”: false , “isVisible”: true , “secondaryTitle”: “”, “primaryTitle”: “myTitle”, “value” : “”])// Adding the array to cellDescriptors
cellDescriptors.addObject( myNewNSMutableArray )It does work great until I select the row to be expanded. The crash occurs at the following line;
cellDescriptors[indexPath.section][indexOfTappedRow].setValue(shouldExpandAndShowSubRows, forKey: “isExpanded”)Where the error shows that the key “isExpanded” is not found;
Error: this class is not key value coding-compliant for the key isExpandedIs there any way to work around this error without having to add manually all the row in the cellDescriptor.plist ?
Here is my fix
I figured out the solution, you have to switch NSMutableArray to be NSMutableDictionary and so it will do the setValue forKey things:
code could be like this (where you pointed out for the error):
1 | var array: NSMutableArray = cellDescriptors[indexPath.section].mutableCopy() as! NSMutableArray |
Ordered Dictionary + HashSet
Ordered Dictionary
When I use it?
I used it for split the range for bracket percentage - TaxPro.swift. What I wanted to do was to find a certain range of the total income so i can get the correct bracket percentage. By using this you don’t have to resort everytime, just compare them with an order by index, compare with the key value and get the actual value for the percentage
1 | ProvincialBracketDict[Location.Ontario]?.insert(0.1316, forKey: 220000, atIndex: 0) |